איך לקפל מעטפת רצועה מאוריגמי
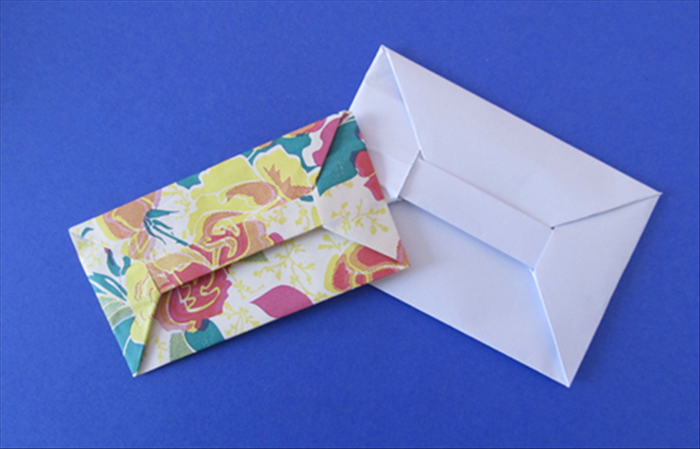
מדריך זה יראה לכם כיצד להכין מעטפת אוריגמי מדהימה מחתיכת נייר אחת שתוחבים אותה לתוך רצועה בכדי לסגור אותה.
בינוני 5 צפיות
שלבים
- 1
שלב 1
 בכדי להכין את המעטפה תזדדקו למלבן נייר, גודל A4 זה גודל טוב. אפשר להשתמש במלבן קטן יותר.
 - 2
שלב 2
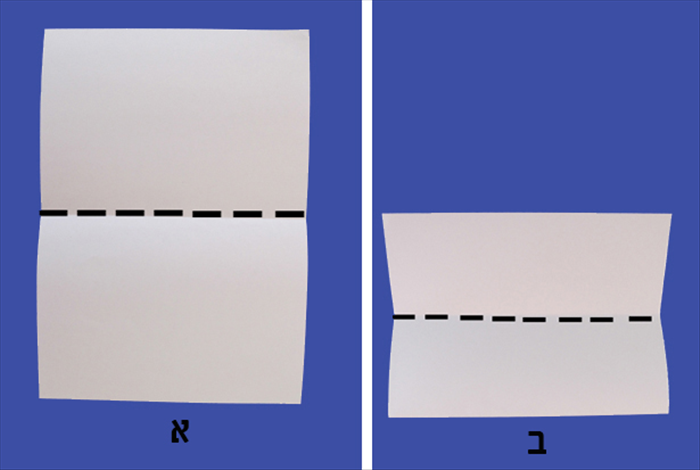 הניחו את הנייר עם הצלעות הקצרות יותר למעלה ולמטה. הביאו את הקצה התחתון עד לקצה העליון וקפלו לחצי. הביאו את הקצה העליון כלפי מטה וקפלו לחצי שוב.
 -
- 3
שלב 3
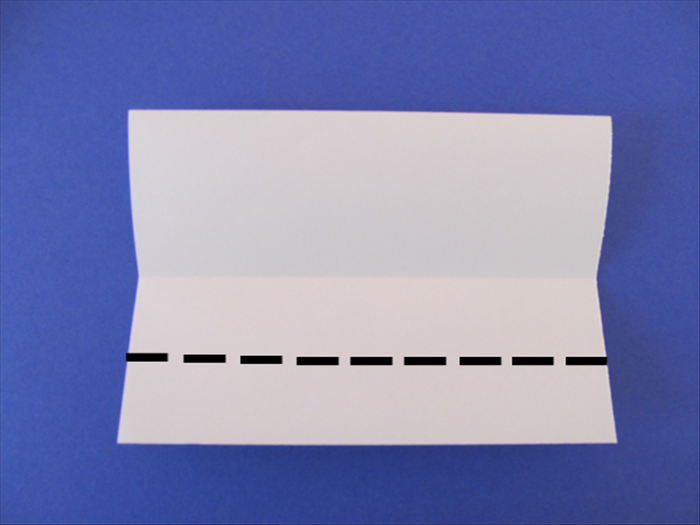 Take the open edge and fold it back on itself until it reached the closed edge.
 - 4
שלב 4
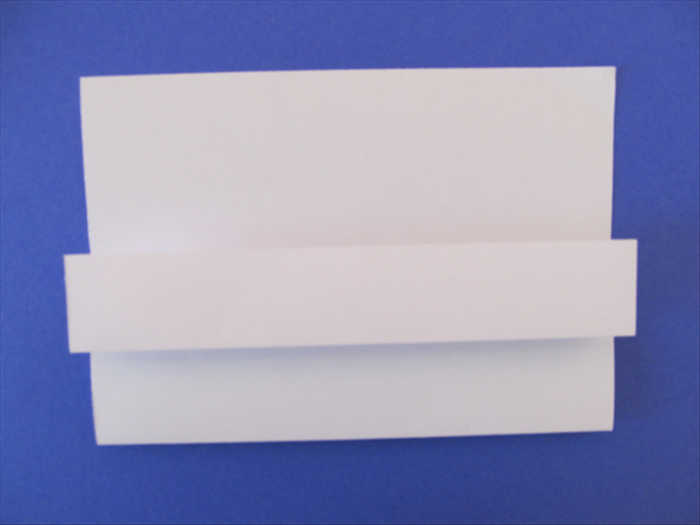 Result. Crease and unfold
 - 5
שלב 5
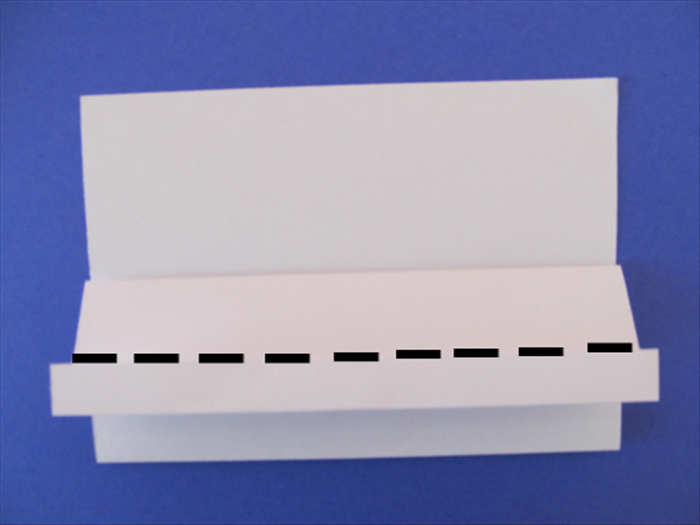 Fold up one more time over the open edge edge
 - 6
שלב 6
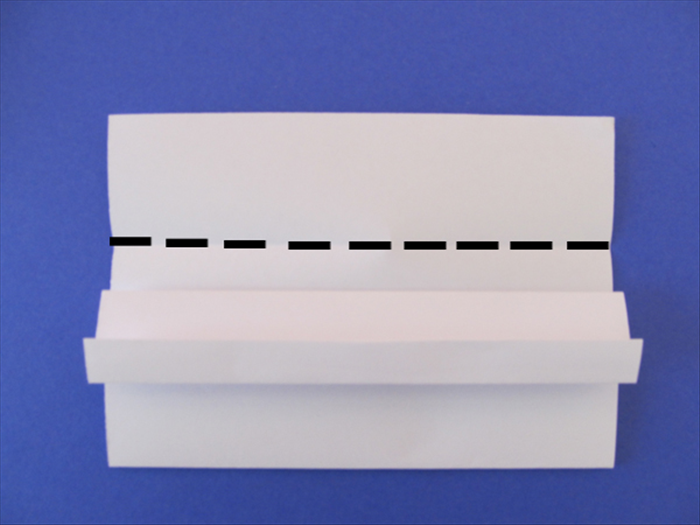 Fold the top down to the bottom edge of the flap you just made in the last step
 - 7
שלב 7
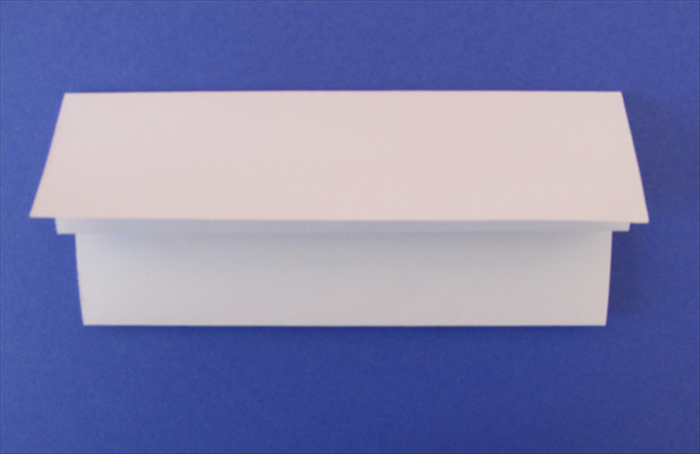 Result Unfold
 - 8
שלב 8
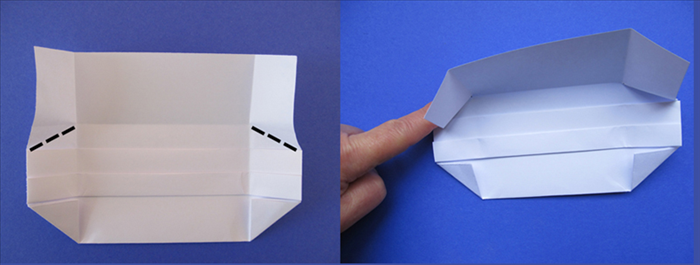 Bring the top layer down only enough to make a crease from each corner point as show in the picture. (The crease is from the inner top corner to the lower outer corner of the upper most of the smallest rectangles) Unfold
 - 9
שלב 9
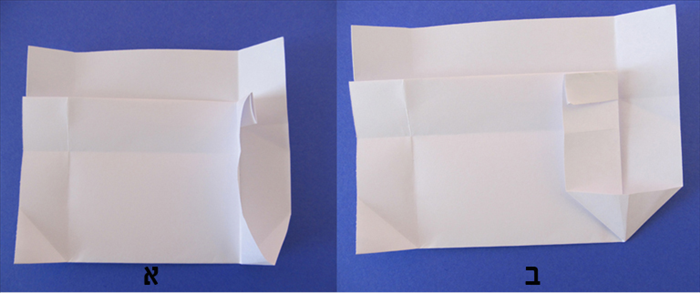 Lift up the right side of the top layer . Press it down along the crease until you get to the top of the triangle. The triangle will pop up. Press the triangle down flat along the existing diagonal creases. Repeat on the left side
 - 10
שלב 10
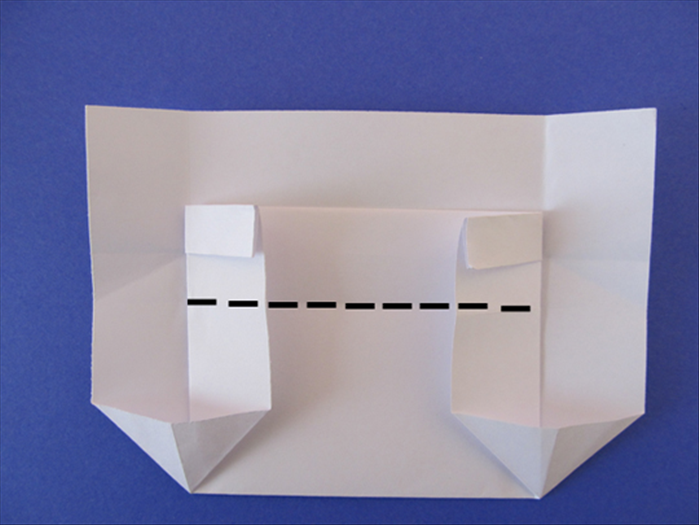 Fold the center back down along the crease
 - 11
שלב 11
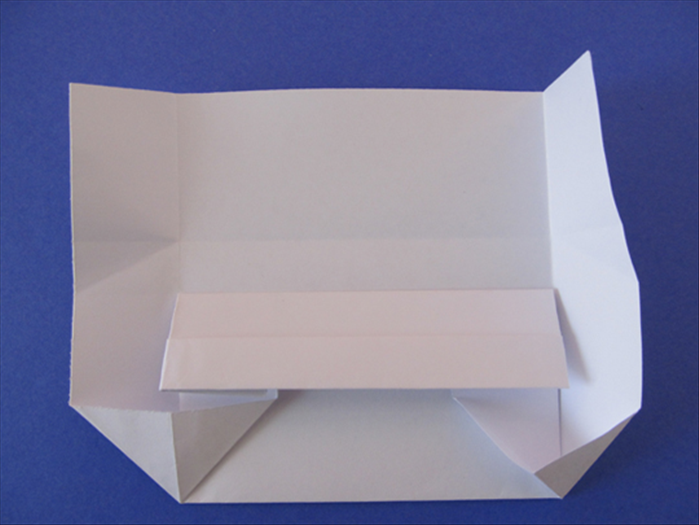 fold the right side towards the center along the existing crease. The center crease of the triangle at the bottom will flatten along the bottom horizontal edge
 - 12
שלב 12
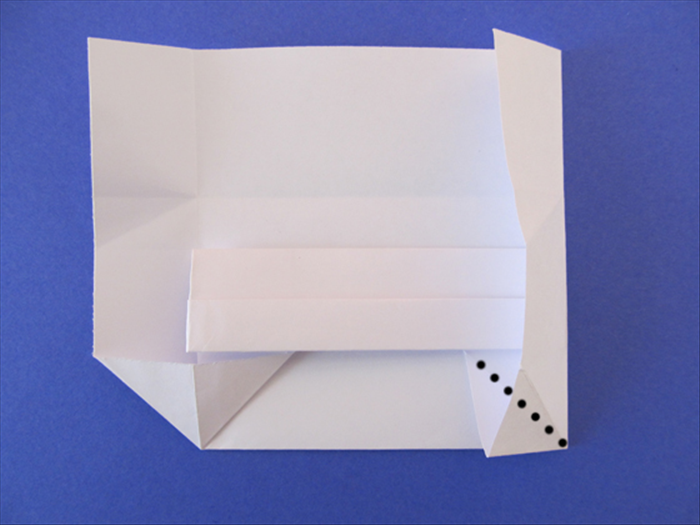 Tuck the triangle at the bottom under along the existing diagonal crease Repeat on left side. See result next picture
 - 13
שלב 13
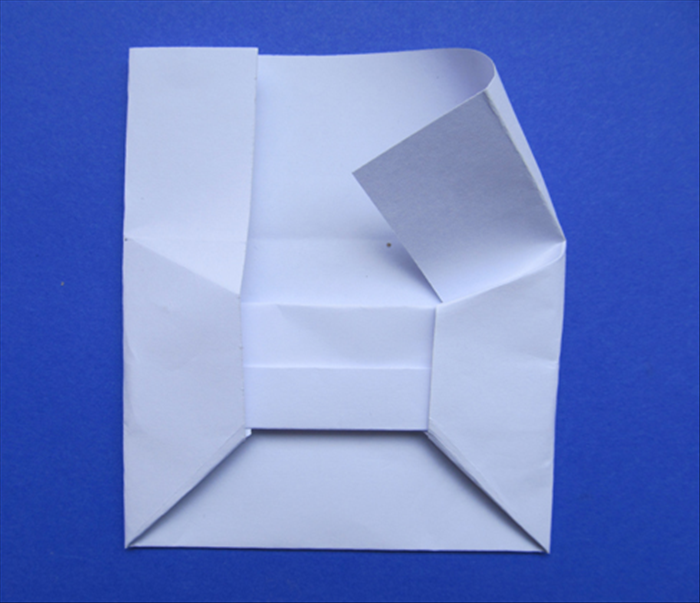 Pull the upper left corner of the right flap down towards the center
 - 14
שלב 14
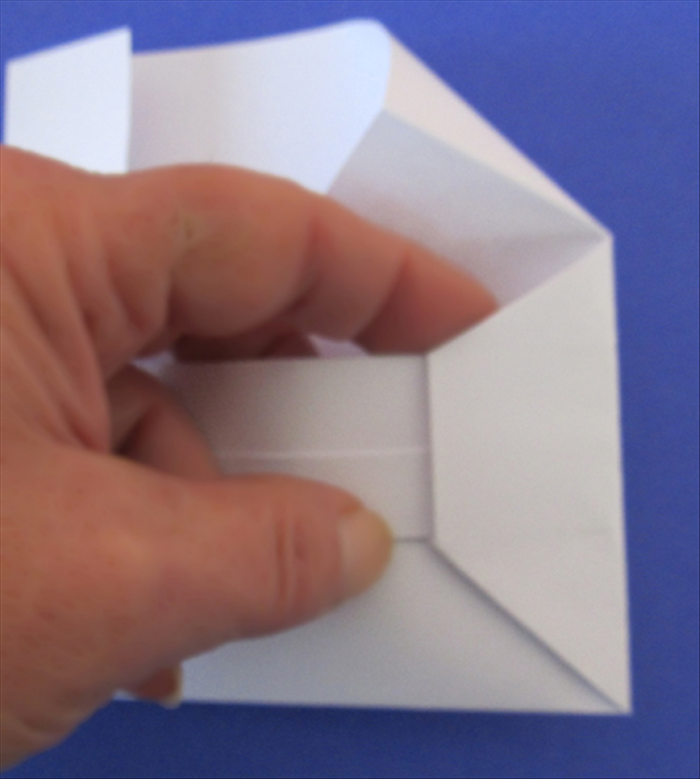 Stick your under the diagonal edge and push the diagonal crease you made in step 12 inwards as far as it will go. The crease that was the right edge should align with the horizontal crease below it. Crease the top. Repeat on the left side. See next picture for result.
 - 15
שלב 15
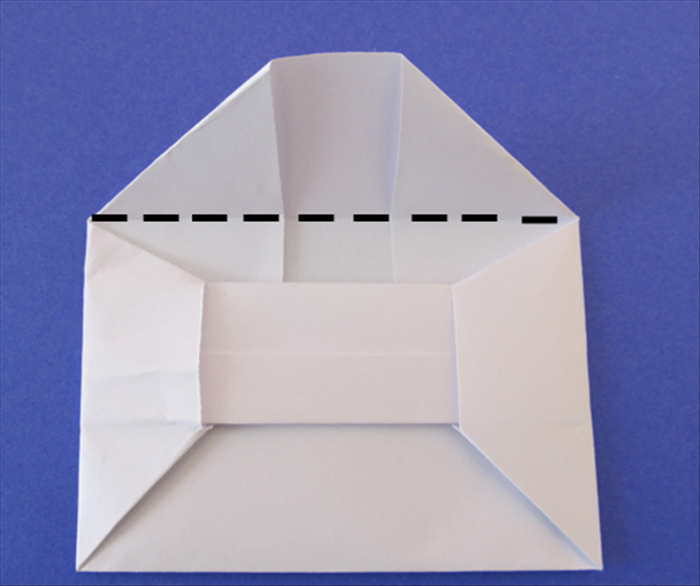 Fold the top down along the crease.
 - 16
שלב 16
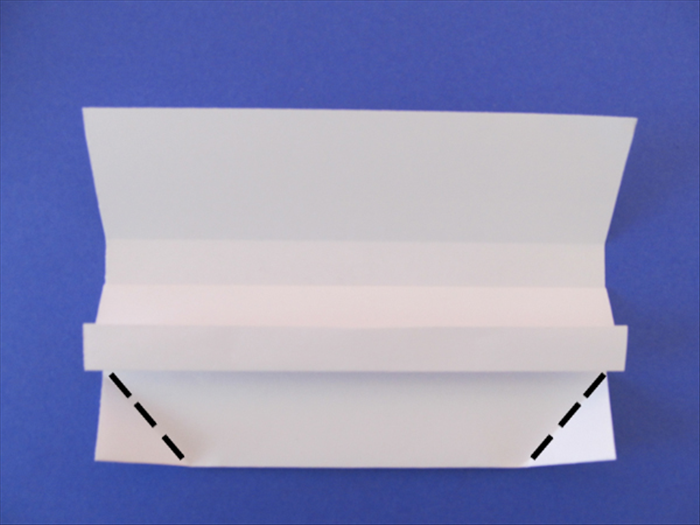 Bring the corners up and align the sides with the bottom edge of the horizontal fold
 - 17
שלב 17
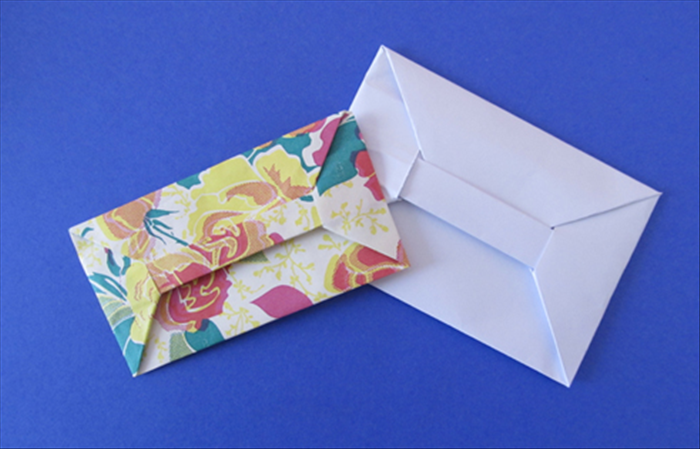 Tuck it into the bar and your envelope is done.
 - 18
שלב 18
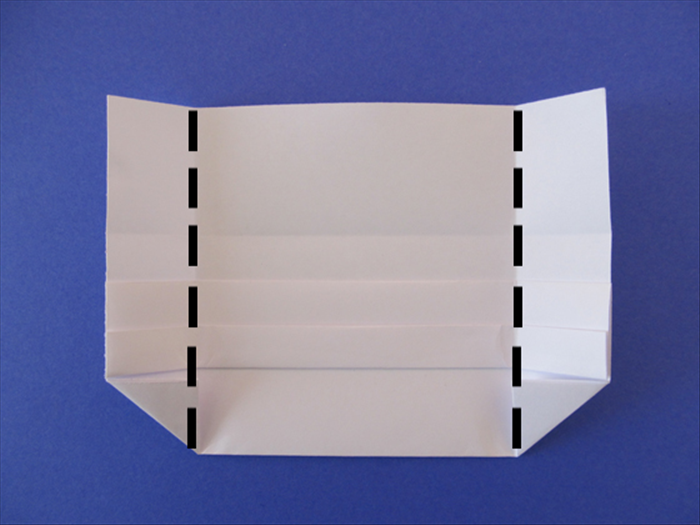 Fold the sides to the center along the inner edge of the triangles you just made.
 - 19
שלב 19
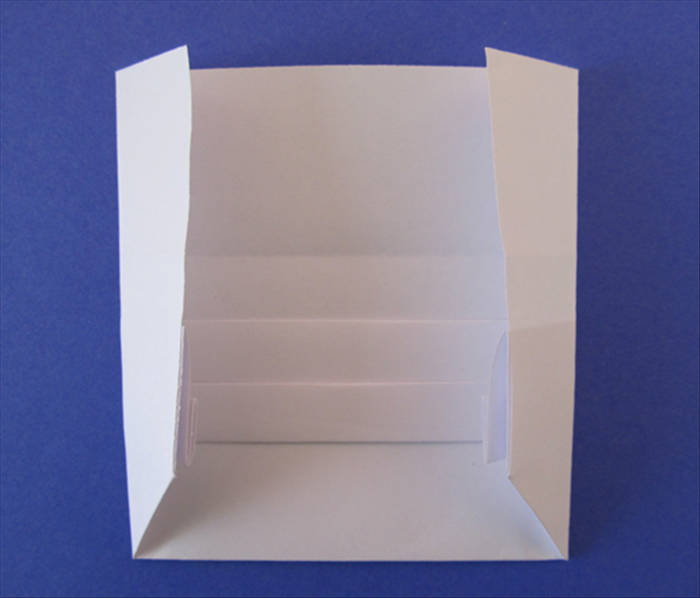 Result. Unfold
 - 20
שלב 20
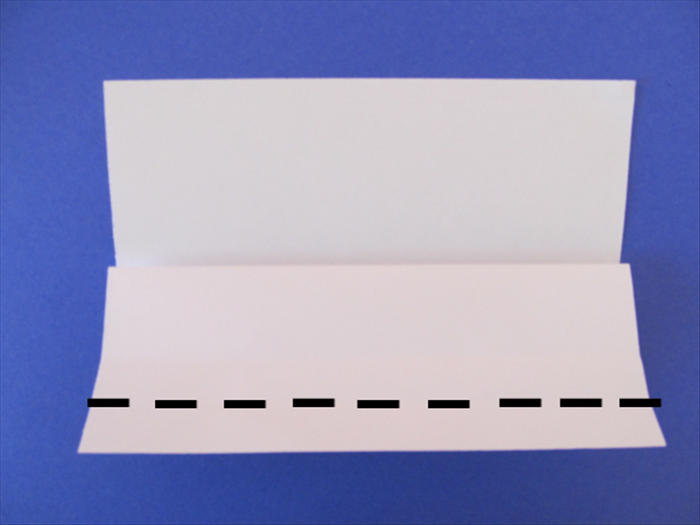 Bring the bottom edge, only one layer, up to the crease you just made in the last step.