How to configure MMS message on the Galaxy Note after changing carriers to Golan Telecom
This guide will show you how to configure the MMS settings on your Galaxy Note after changing carriers to Golan Telecom.
קל 1 צפיות
מה תצטרך
- Note
- Galaxy Note
- MMS
- APN
- Golan Telecom
שלבים
- 1
שלב 1
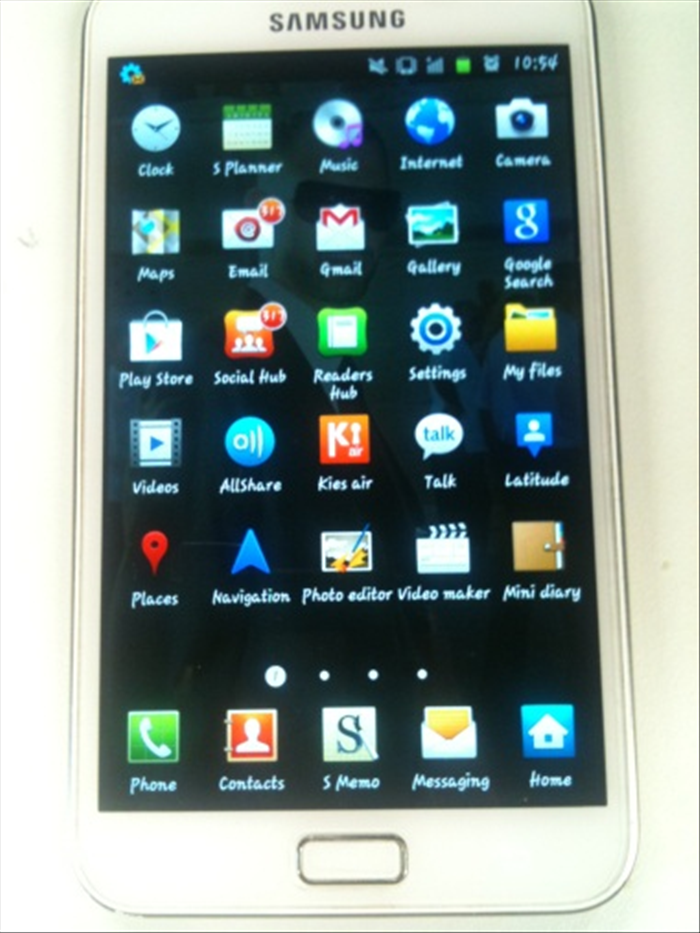 Open the menu press on "Settings"
 - 2
שלב 2
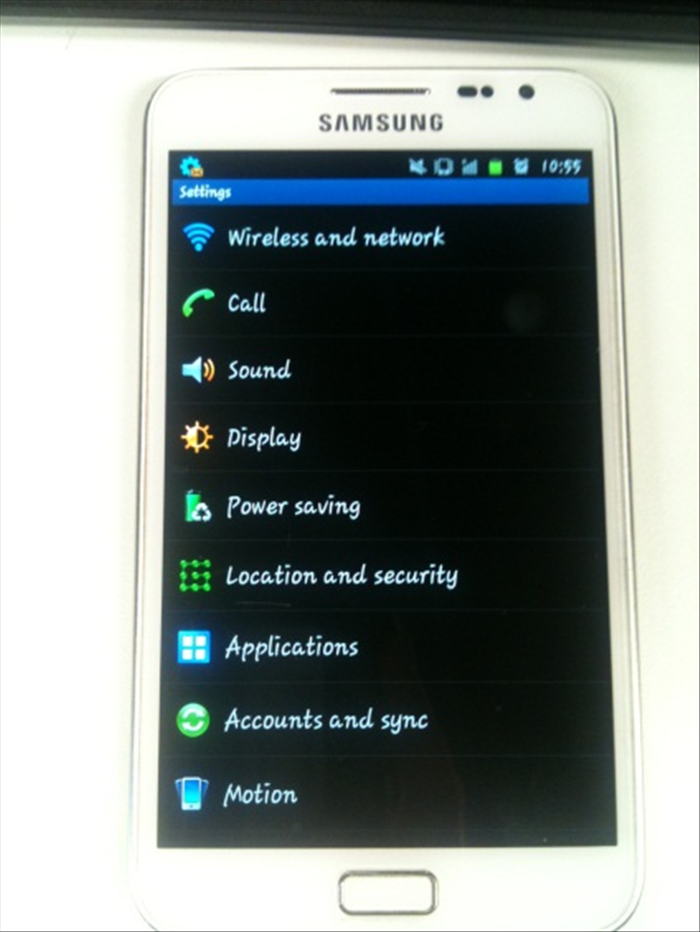 Select "wireless and networks".
 -
- 3
שלב 3
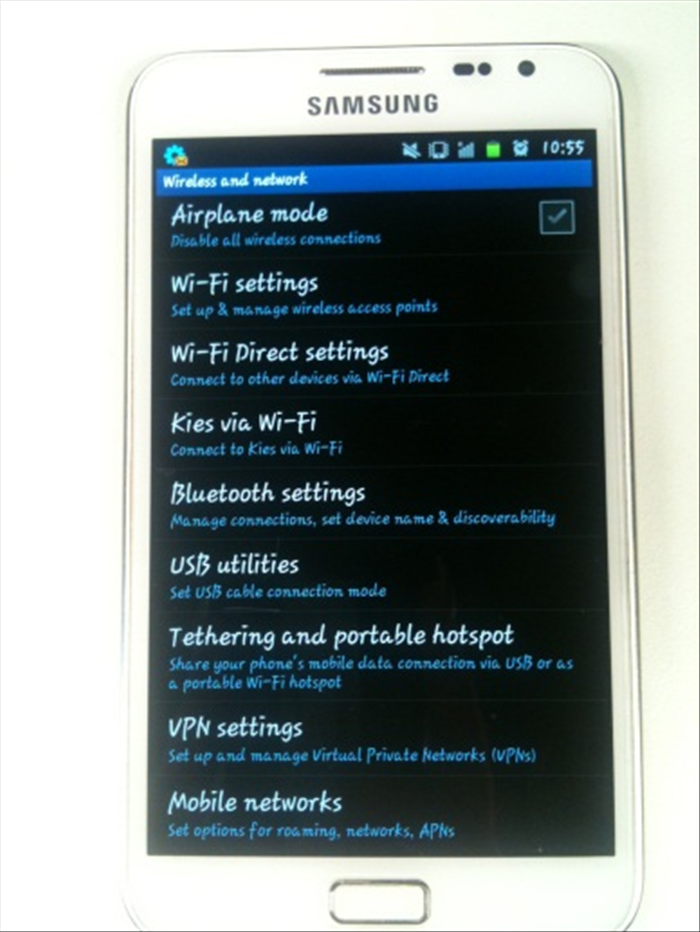 Select the "mobile networks" option
 - 4
שלב 4
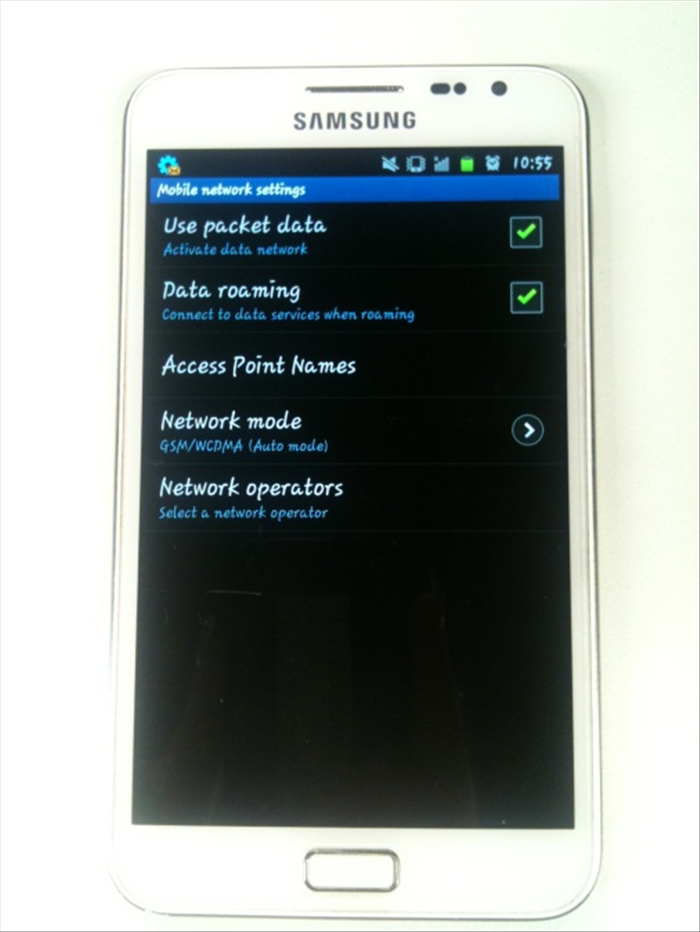 Then check the first two options: "Data roaming" and "use packet data" After that - enter "Access point names".
 - 5
שלב 5
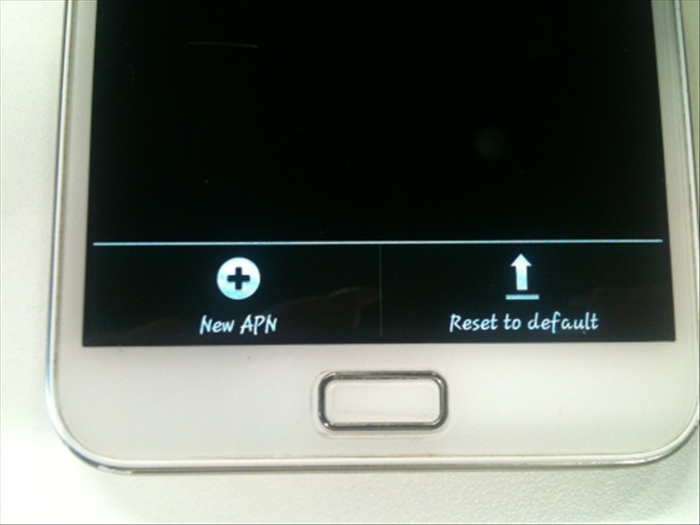 Tap the "options" button, and select "New APN".
 - 6
שלב 6
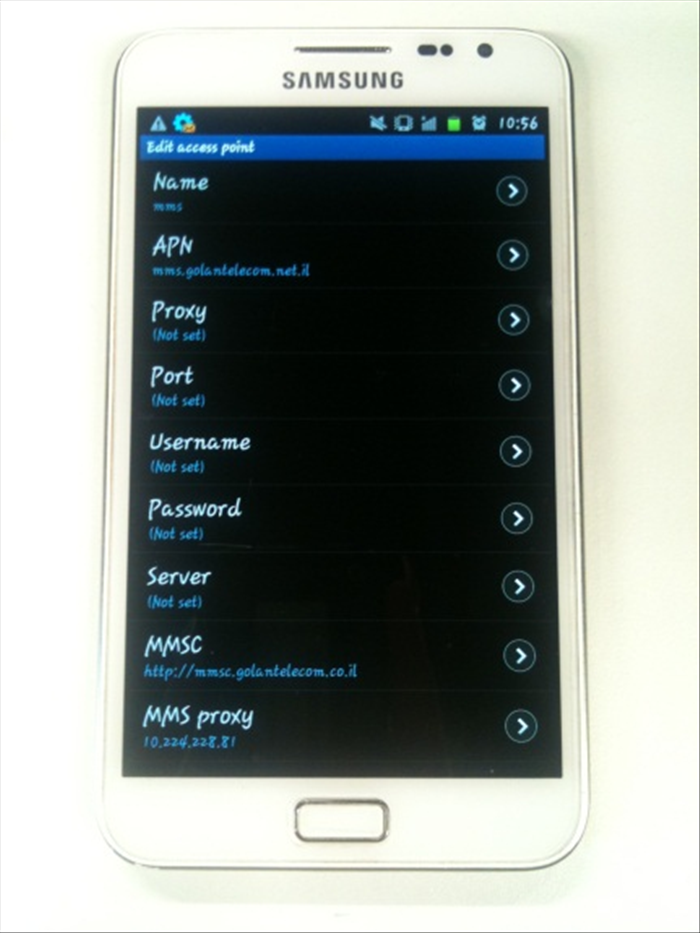 And set settings as shown in the pictures: Name: golan_MMS APN: mms.golantelecom.net.il Proxy: none port: none User name: none
 - 7
שלב 7
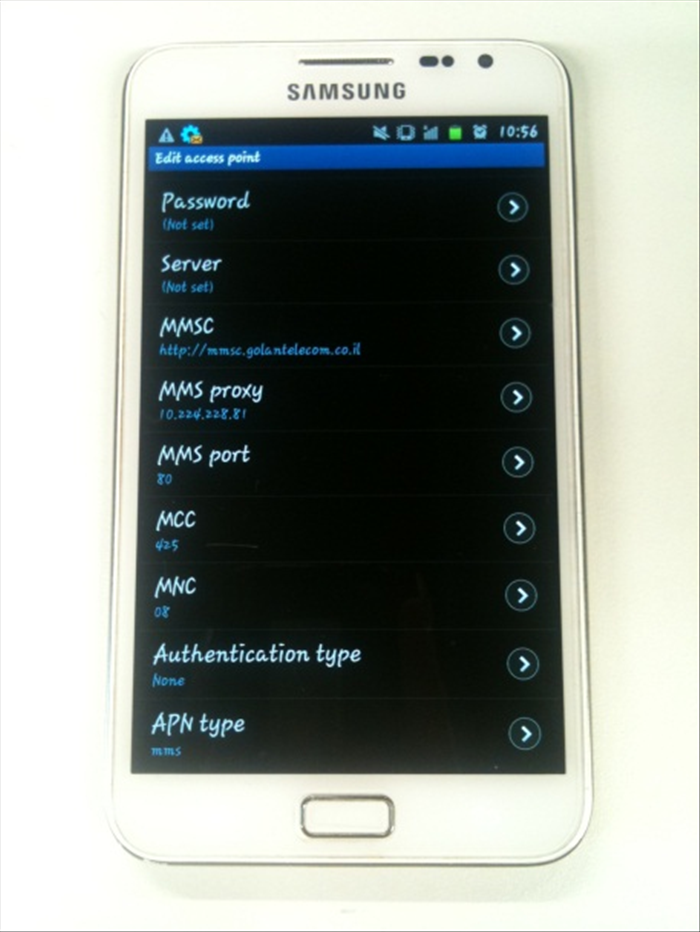 Password: none Server: none mmsc: http://mmsc.golanteleom.co.il mms proxy: 10.224.228.81 mms port: 80 MCC: 425 MNC: 08 authentication type: none APN type: MMS
 - 8
שלב 8
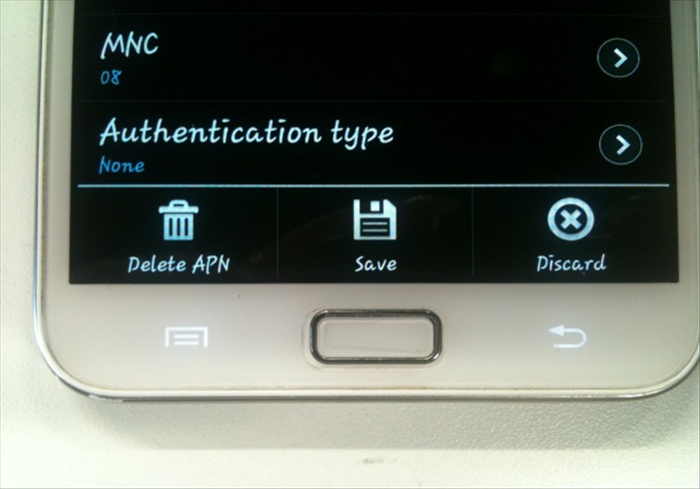 After you are done press "Options" and select "Save".